Replace default Squarespace social media icons with your own
Ever wonder how you can replace those default Squarespace social media icons with your own branded custom icons?
Recently I had the pleasure of designing a custom website for a talented photographer. I wanted to swap out the default Squarespace social media icons with some that looked more on-brand and had a custom feel. So I created some by drawing inspiration from her new logo.
You can do the same by following these simple steps below!
Note: This custom social media icons tutorial assumes a basic knowledge of a design program, such as Photoshop, Illustrator, or Canva.
How to replace the default Squarespace social media icons with custom branded icons
1) Create your custom Squarespace icons
Create your custom icons using the design program of choice (ie. Photoshop or Canva). Export them as PNG (especially if your icon has transparency) or JPG format.
2) Confirm the order of the Squarespace social media icons
Go to: Settings > Social Links
On the left-side of your Squarespace admin panel, go to Settings, then Social Links. Click on Add a social link or email and enter the URL of the social media platform you’re connected to. Put the links in the order in which you’d like them to appear: The top spot will coordinate with position #1, and so on down.
3) Upload your icons to Squarespace custom files
Go to: Design > CSS > Manage Custom Files
Back on the left-side of your Squarespace admin panel, go to Design, then down to Custom CSS. Scroll down to the very bottom and click on Manage Custom Files. Upload the icons you created for each social media link.
4) Add the custom CSS
Click back inside the Custom CSS panel and add the following custom code in the window:
/*Custom Social Media Icons*/
.sqs-svg-icon--list a:nth-of-type(1) {
svg {
display:none;
}
background-image: url(YOUR-IMAGE);
background-size: 100%;
background-repeat: no-repeat;
}
.sqs-svg-icon--list a:nth-of-type(2) {
svg {
display:none;
}
background-image: url(YOUR-IMAGE);
background-size: 100%;
background-repeat: no-repeat;
}
.sqs-svg-icon--list a:nth-of-type(3) {
svg {
display:none;
}
background-image: url(YOUR-IMAGE);
background-size: 100%;
background-repeat: no-repeat;
}
5) Customize the CSS code
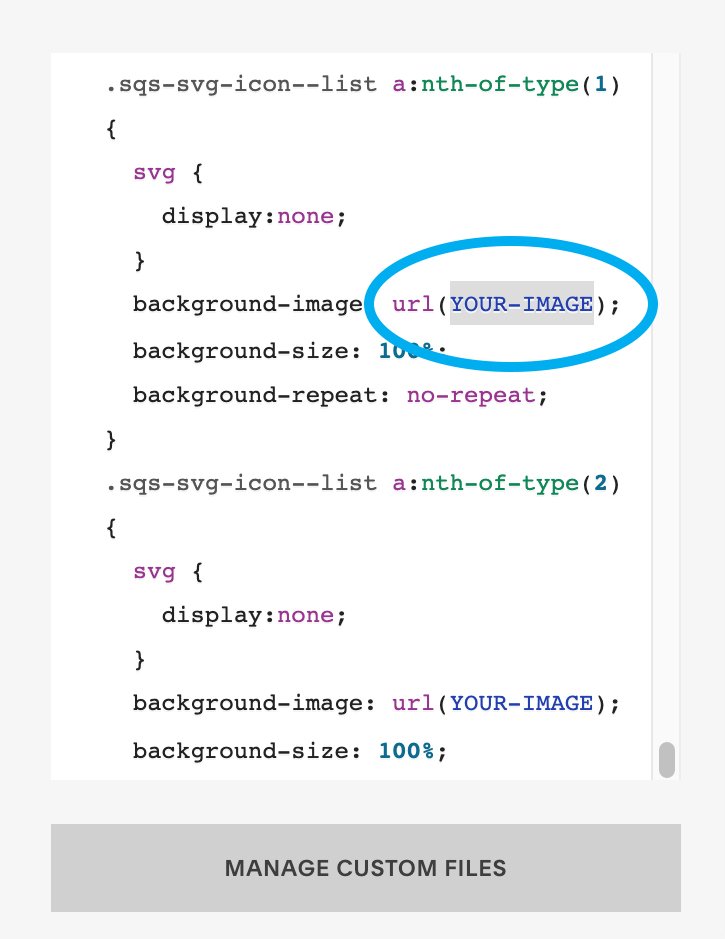
Beginning with the first icon, you’ll need to find the code for background-image and highlight the text between the parenthesis that says YOUR-IMAGE (be sure to ONLY highlight this text). Then hit delete.
With your cursor still in between the parenthesis, click on Manage Custom Files again, and click on your first custom icon file. You should then immediately see the file link populate between the two parenthesis where your cursor was.
Repeat this step for each of the custom icons you have. This example shows the code for three social media icons.
That’s it! You’ll see your beautiful on-brand icons replace the default ones.
Send me an update on how it went, or if you have questions about this tutorial. I’d love to hear from you and see your design!